
Making a digital card is straightforward when you follow a simple process. Start by choosing a design platform like Canva (used by 75% of creators) or Adobe Creative Suite, then select a template that matches your needs. Customize the template by adding your own text, adjusting fonts (stick to 2-3 styles), and incorporating high-resolution images (300 DPI). Apply a color scheme using the 60-30-10 rule, and guarantee your text is legible with appropriate contrast. Once you're satisfied, save your card in the right format (PDF, JPG, or PNG) and share it via email or social media. The following sections will guide you through each step in detail.
Key Takeaway
- Choose a design platform like Canva, Adobe Creative Suite, or mobile apps based on your technical skills and device preference.
- Select a template that matches your card's purpose, then customize colors, fonts, and images while maintaining professional appearance.
- Keep content concise with a clear headline, primary message under 50 words, and a strong call-to-action.
- Use 2-3 complementary colors and maintain readable font sizes (16-18px) with proper contrast for accessibility.
- Save your card in appropriate formats (PDF, JPG, or HTML) and share through email, messaging apps, or social media.
Choosing Your Design Platform
Digital card creation starts with selecting the right design platform for your needs. Today's market offers three primary categories of design platforms, each catering to different skill levels and requirements.
Professional Design Software:
- Adobe Creative Suite (Photoshop, Illustrator)
- CorelDRAW
- Affinity Designer
Best for: Advanced users who need complete creative control and high-resolution outputs
Online Design Tools:
- Canva (used by 75% of digital card creators)
- PicMonkey
- Stencil
Best for: Intermediate users seeking templates and drag-and-drop functionality
Mobile Apps:
- Over
- Adobe Spark
- Unfold
Best for: On-the-go creators who need quick, template-based solutions
When choosing your platform, consider these key factors:
- Technical expertise required
- Available features and templates
- Cost structure (subscription vs. one-time purchase)
- File format compatibility
- Cloud storage options
- Collaboration capabilities
You'll want to match your platform choice with your intended output quality, time investment, and budget constraints. Many platforms offer free trials, so you can test their interfaces before committing.
Essential Digital Card Elements
Every successful digital card incorporates fundamental design elements that work together to convey your message effectively. To create a compelling digital card, you'll need to include these essential components:
Visual Elements:
- A high-resolution background image or color scheme (at least 300 DPI)
- Clear, readable typography with no more than 2-3 font styles
- Your brand's logo or personal identifier (if applicable)
- Balanced white space (approximately 30% of design)
Content Components:
- Concise headline or greeting (10 words or less)
- Primary message or body text (25-50 words)
- Call-to-action or response instructions
- Contact information or social media links
Technical Requirements:
- Appropriate file format (JPG, PNG, or GIF)
- Mobile-responsive design elements
- Optimized file size (under 1MB for email delivery)
- Compatible dimensions for your chosen platform
You'll want to arrange these elements using the visual hierarchy principle, where your most important message captures immediate attention. Remember to maintain consistent spacing between elements, typically 10-20 pixels, and guarantee all text remains legible against your chosen background.
Working With Templates

Using pre-made templates offers a quick and efficient way to create professional-looking digital cards without starting from scratch. You'll find thousands of customizable templates across various platforms, including Canva, Adobe Spark, and PicMonkey, which can reduce your design time by up to 75%.
Template Selection and Customization:
- Browse categories that match your purpose (birthday, wedding, business)
- Filter by orientation (portrait or landscape) and size requirements
- Preview templates with your content before committing
Key Optimization Steps:
- Replace placeholder text with your message
- Adjust fonts to maintain brand consistency
- Modify color schemes to match your preferences
- Swap stock images with personal photos
- Resize elements to achieve proper balance
When you're working with templates, you'll want to maintain the original design's integrity while adding your unique touch. Most platforms allow you to save custom templates for future use, which can help establish a consistent style across multiple cards. Remember to test your customized template across different devices, as 64% of recipients will likely view your card on mobile first.
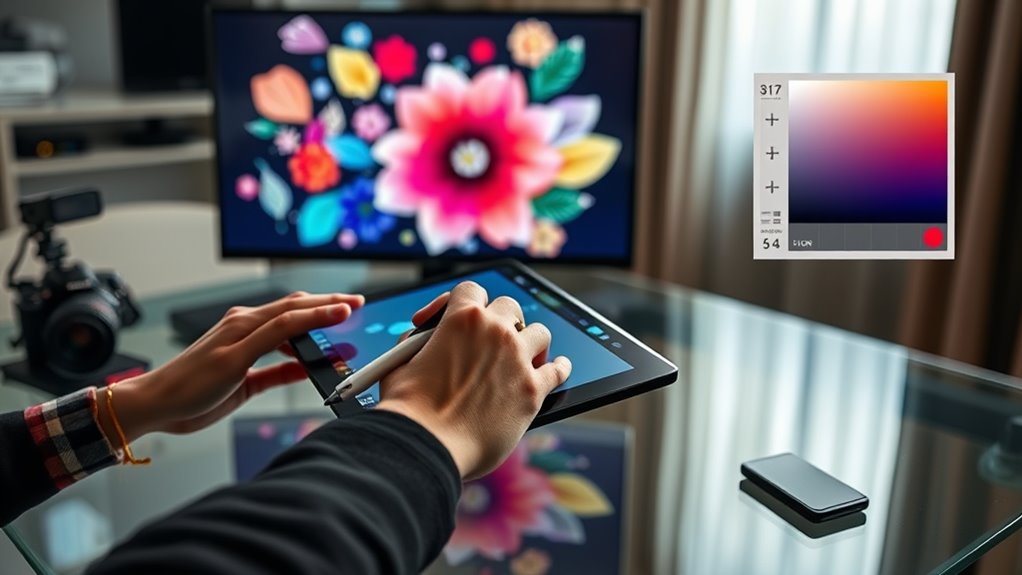
Color and Font Selection
Selecting the right colors and fonts stands at the heart of creating an impactful digital card. You'll need to understand basic color theory and typography principles to make your design both professional and engaging.
Color Selection Guidelines:
- Choose 2-3 primary colors that align with your message or brand
- Use the 60-30-10 rule: 60% dominant color, 30% secondary color, 10% accent color
- Consider color psychology (e.g., blue for trust, red for energy)
- Test your palette for accessibility using contrast checkers
Font Considerations:
- Select no more than two complementary fonts
- Use a readable sans-serif font for body text (like Helvetica or Arial)
- Reserve decorative fonts for headlines only
- Maintain consistent font sizes (16-18px for body text)
When combining colors and fonts, you'll want to create clear visual hierarchies. Start with your background color, then layer your text colors strategically. For maximum impact, verify your font choice reflects your card's tone – formal occasions might call for serif fonts like Georgia, while casual greetings work well with modern sans-serifs like Roboto.
Remember to test your design across different devices, as colors and fonts may render differently on various screens.
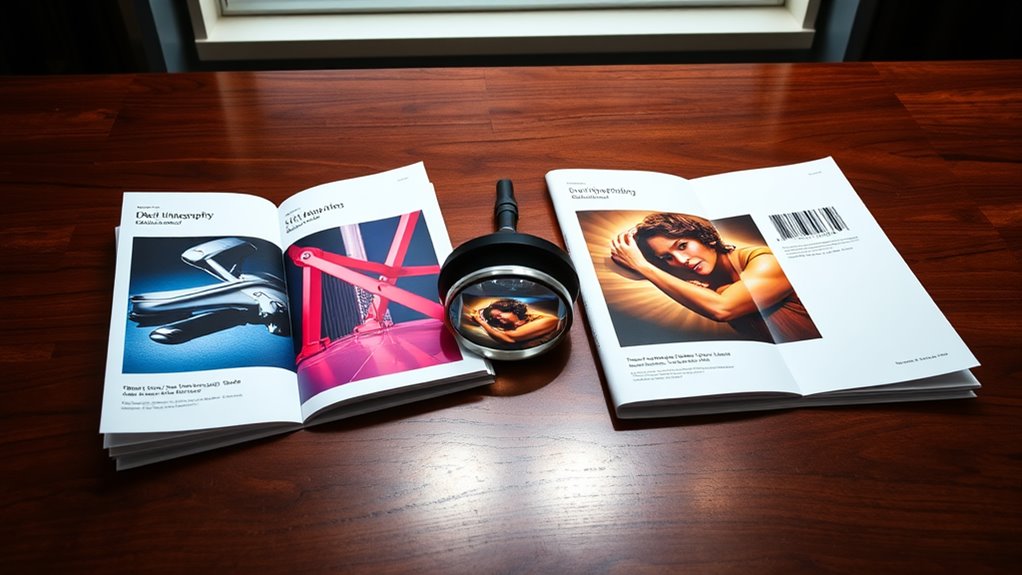
Adding Images and Graphics
Along with colors and fonts, images and graphics serve as essential elements that bring your digital card to life. When selecting visual components, you'll need to take into account both quality and relevance to create a professional impression.
Key Elements for Image Selection:
- Resolution: Use high-quality images (minimum 300 DPI) to guarantee clarity
- File formats: Stick to PNG for graphics with transparency or JPEG for photographs
- Size optimization: Keep files under 1MB to maintain quick loading times
- Aspect ratio: Maintain proper proportions to avoid distortion
Implementation Tips:
- Position your graphics strategically to guide the viewer's eye
- Incorporate your brand's logo if you're creating a business card
- Use vector graphics when possible for crisp scaling
- Apply subtle drop shadows or borders to create depth
- Limit yourself to 2-3 images per card to prevent overcrowding
Remember to respect copyright laws by using either your own images, purchased stock photos, or properly licensed graphics. You can source royalty-free images from platforms like Unsplash or Pexels, which offer professional-quality visuals suitable for digital cards.
Saving and Sharing Options
The successful completion of your digital card leads to an important final step: saving and sharing it effectively. You'll need to choose the right format and sharing method to guarantee your recipients can easily view and interact with your creation.
To maximize your digital card's accessibility and impact, consider these essential saving and sharing options:
- Export formats: Save your card as a PDF for universal compatibility, JPG for easy sharing on social media, or HTML for interactive web viewing. Each format maintains different levels of quality and functionality.
- Cloud storage solutions: Upload your card to services like Google Drive, Dropbox, or iCloud, where you'll get shareable links and collaborative features. Most platforms offer 2-15GB of free storage.
- Direct sharing methods: Send your card through email attachments, messaging apps, or social media platforms. You can track delivery and engagement with business-oriented platforms.
- Backup considerations: Create multiple copies in different locations and formats, guaranteeing you've got access to your design. Consider implementing version control if you're planning future edits.
Remember to test your shared card on different devices before sending it to your intended audience.
Digital Card Design Tips

Creating effective digital cards depends on mastering fundamental design principles that enhance visual appeal and readability. When you're designing your digital card, consider these essential elements to achieve professional results.
Key Design Principles:
- Keep a consistent color scheme with 2-3 complementary colors
- Maintain adequate white space (30% of design) for visual breathing room
- Use fonts that align with your message (limit to 2 font families)
- Guarantee text contrast meets WCAG 2.1 standards for accessibility
Layout Guidelines:
- Position your main message in the top third of the card
- Create a clear visual hierarchy with size differentiation
- Include graphics that support, don't overshadow, your message
- Limit animations to subtle effects that enhance readability
You'll want to test your design across different devices, as 64% of recipients will view your card on mobile. Remember to check that your text remains legible at various screen sizes, and you've maintained a proper resolution (300 DPI) for images. If you're including interactive elements, guarantee they're responsive and work seamlessly across platforms.
Conclusion
Creating digital cards doesn't require a quill and inkwell anymore – you've got all the tools at your fingertips. With the right platform, thoughtful design elements, and attention to detail, you'll be crafting professional-looking digital cards in no time. Remember to save your work in multiple formats and test your card's appearance across different devices before sharing. You're now ready to bring your digital greeting cards to life.