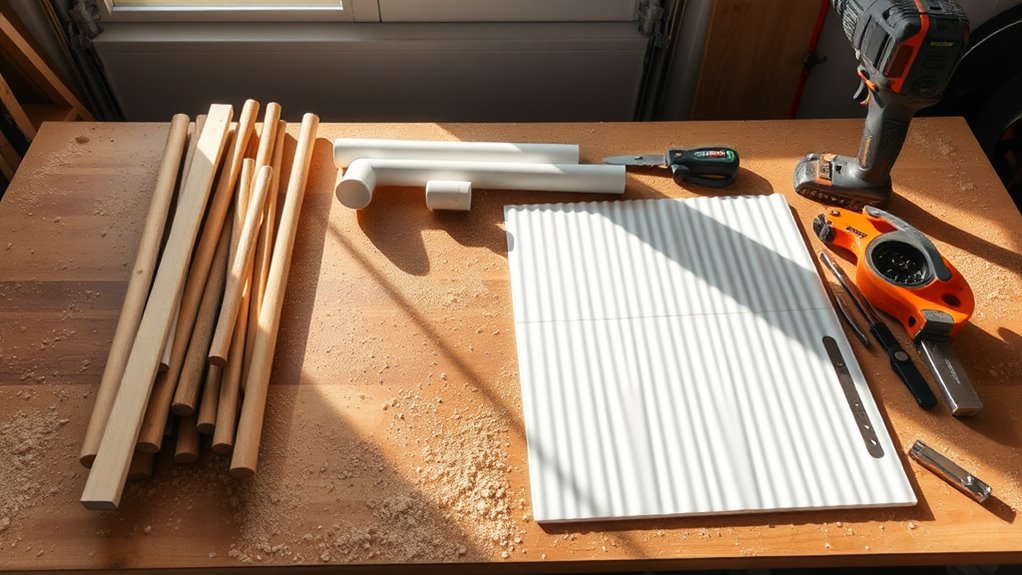
To make a yard sign, you'll need plywood or corrugated plastic (1/4 inch thick), weather-resistant paint or vinyl lettering, wooden stakes, and basic tools like a drill and saw. Start by cutting your base material to standard dimensions (18×24 inches), then sand the edges and apply weather sealant if using plywood. Design your message with high-contrast colors and sans-serif fonts, keeping text limited to 6-8 words for maximum impact. Finally, install your sign 10-15 feet from the street using H-wire stakes driven 12-18 inches deep at a 15-degree angle. Professional-looking yard signs require attention to several key details and techniques.
Key Takeaway
- Choose durable materials like plywood or corrugated plastic, ensuring they're weather-resistant and at least 1/4 inch thick for stability.
- Design your sign with high-contrast colors and 3-inch tall letters using sans-serif fonts for maximum readability.
- Cut your base material to standard dimensions (18×24 inches), sand edges, and apply weather sealant if using plywood.
- Apply text using vinyl lettering or paint, keeping the message concise with 6-8 words positioned in the top 60% of the sign.
- Install the sign using H-wire stakes or wooden posts, ensuring 12-18 inches are secured in the ground for stability.
Materials and Tools Needed
Success in creating a yard sign starts with gathering the right supplies. You'll need to collect both essential materials and tools to guarantee your project comes together effectively and professionally.
Essential Materials:
- Plywood or corrugated plastic (at least 1/4 inch thick)
- Weather-resistant paint or vinyl lettering
- Wooden stakes (2×4 inches, pressure-treated)
- Exterior-grade screws or nails
- Primer specifically designed for outdoor use
- Clear protective sealant
Required Tools:
- Electric drill with drill bits
- Saw (circular or jigsaw)
- Measuring tape and level
- Pencil and straightedge
- Paintbrushes or rollers
- Safety equipment (goggles, gloves)
For peak durability, you'll want to select materials rated for outdoor use, particularly in your climate zone. The standard yard sign dimensions are 18×24 inches, though you can adjust based on your needs. When choosing plywood, select exterior-grade options like marine-grade or MDO, which resist warping and moisture damage. For corrugated plastic, a 4mm thickness typically provides the best balance of durability and cost-effectiveness.
Planning Your Sign Design
Before diving into construction, you'll need to carefully plan your yard sign's design to assure it effectively communicates your message. Consider your sign's viewing distance, as most yard signs are read from 20-30 feet away. You'll want to assure your text is legible and your design elements are clearly visible from this range.
When planning your design, focus on these essential elements:
- Text Size and Font – Use letters at least 3 inches tall for main messages, and select sans-serif fonts like Arial or Helvetica for maximum readability
- Color Contrast – Choose high-contrast color combinations, such as black on white or dark blue on yellow, which can increase visibility by up to 40%
- Message Layout – Position your primary message in the top 60% of the sign, as studies show viewers typically scan from top to bottom
- Visual Hierarchy – Incorporate no more than 3 design elements, including logos or graphics, to maintain clarity and prevent visual clutter
You'll want to sketch your design on paper first, then create a digital mockup if possible. This approach allows you to make adjustments before committing to your final design, saving both time and materials.
Preparing the Sign Base
Creating a sturdy base is essential for your yard sign's durability and visibility. You'll need to select weather-resistant materials that can withstand various outdoor conditions while maintaining structural integrity.
Primary Base Materials:
- Corrugated plastic (4-6mm thickness) – Most cost-effective, lasting 3-6 months
- Aluminum composite (3mm thickness) – Premium option, lasting 2-3 years
- Marine-grade plywood (½ inch) – Mid-range choice, lasting 1-2 years with proper sealing
Preparation Steps:
- Cut your chosen material to size, typically 18"x24" or 24"x36"
- Sand the edges to prevent snags and injury
- Apply weather sealant if using plywood
- Create mounting holes at the bottom corners for stakes
You'll want to reinforce the corners with metal brackets if you're using plywood, while corrugated plastic may require additional support strips along the edges. For maximum stability, consider adding a cross-brace on larger signs over 24 inches wide.
Pro Tip: If you're working with corrugated plastic, make certain the flutes run vertically for better stake insertion and improved structural support.
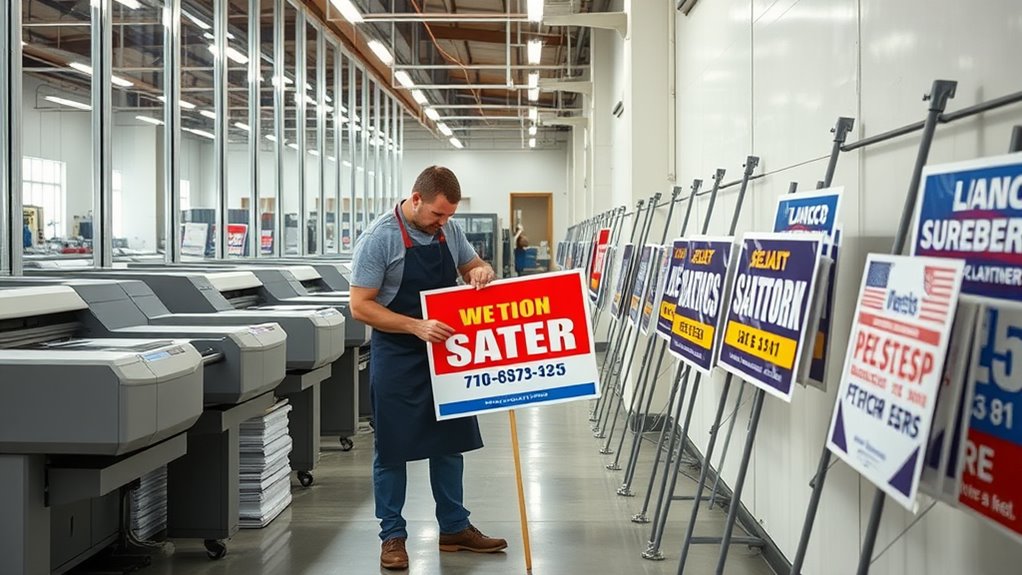
Adding Text and Graphics
With your sign base prepared, it's time to add compelling visuals and text that will grab attention. You'll want to create a design that's both eye-catching and legible from at least 20 feet away, considering that most yard signs are viewed from passing vehicles.
For professional-looking results, follow these essential steps:
- Choose high-contrast colors for maximum visibility (black on white offers 100% contrast ratio, while dark blue on white provides 94% contrast)
- Select sans-serif fonts like Arial or Helvetica, maintaining a minimum letter height of 3 inches for primary text
- Keep your message concise, limiting text to 6-8 words that convey your core message
- Use vector graphics when possible to guarantee sharp, scalable images that won't pixelate
To transfer your design onto the sign, you can utilize various methods depending on your resources. Professional vinyl cutting machines offer precision for detailed graphics, while stencils and paint work well for simpler designs. If you're using adhesive letters, apply them using transfer tape and a squeegee tool to prevent bubbling. Remember to measure and mark your center points to guarantee proper text alignment.
Installing Your Yard Sign

Three key factors determine successful yard sign installation: location selection, ground preparation, and proper mounting technique.
Location Selection:
- Choose high-visibility spots where your sign won't obstruct traffic views
- Position 10-15 feet from the street, angling slightly toward traffic
- Check local ordinances, as many cities restrict sign placement within 10 feet of sidewalks
- Avoid utility lines by calling 811 before digging
Ground Preparation:
- Mark your installation spot with spray paint or stakes
- Clear vegetation and debris in a 2-foot radius
- Test soil density with a probe tool to identify obstacles
- Pre-soften hard soil with water if needed
Mounting Technique:
- For H-wire stakes (most common):
- Drive stakes 12-18 inches deep at a 15-degree angle
- Space stakes 24-36 inches apart for stability
- Secure sign to stakes using UV-resistant zip ties
- For wooden posts:
- Dig holes 24 inches deep
- Use quick-setting concrete for permanence
- Level posts with a bubble level before concrete sets
You'll need to check your sign's stability after 24 hours and following severe weather events to ascertain continued effectiveness.
Conclusion
Ready to make your mark in the neighborhood? With these simple steps and materials, you're now equipped to create eye-catching yard signs that'll get your message across effectively. Whether you're promoting a business, supporting a cause, or celebrating an event, your custom-made yard sign will stand out with professional-quality results. Remember to check local regulations before installation, and you'll be ready to showcase your creativity right in your front yard.