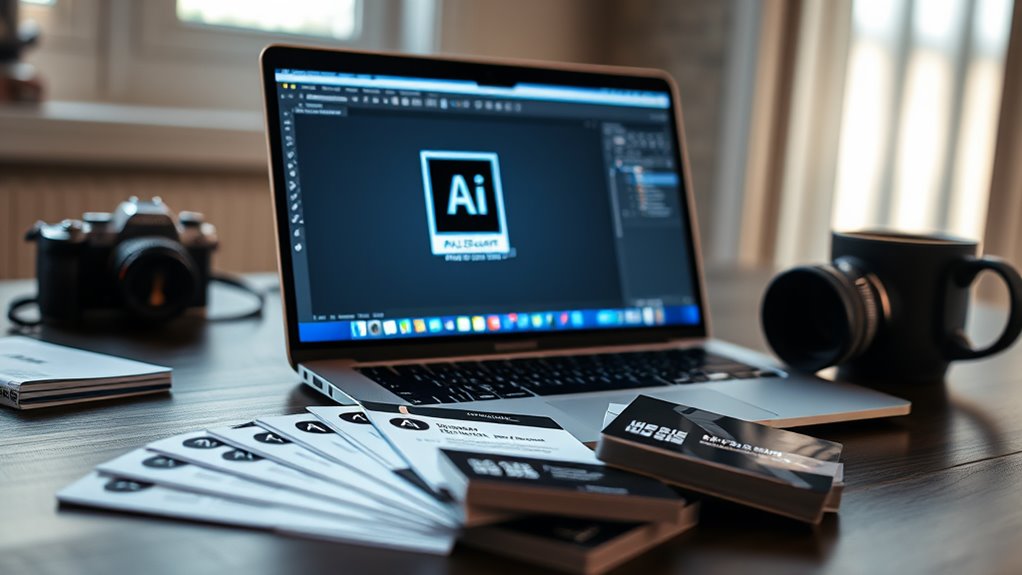
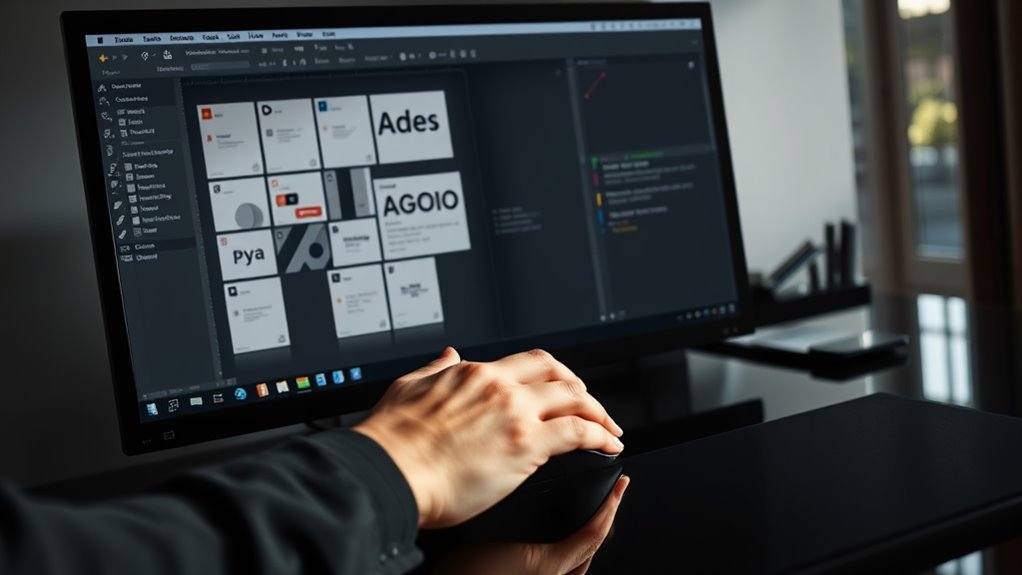
Yes, you can use Photoshop to create professional business cards by following a few key steps. Start by setting up your canvas to standard business card dimensions (3.5 x 2 inches in the US) with 300 DPI resolution and CMYK color mode for print quality. You'll need to include essential elements like your name, company logo, and contact information while maintaining proper spacing and typography guidelines. Photoshop's robust design tools let you work with text, graphics, and layout precisely, and you can export your final design as a print-ready PDF. Understanding the complete design process will help you create cards that make a lasting impression.
Key Takeaway
- Photoshop is ideal for business card design, offering precise control over 300 DPI resolution and CMYK color settings for professional printing.
- Create a canvas matching standard business card dimensions (3.5 x 2 inches US) with proper bleeds for print-ready designs.
- Import and manipulate logos as Smart Objects while managing typography through built-in Character and Paragraph panels.
- Apply clipping masks, adjustment layers, and alignment tools to achieve professional layout and seamless graphic integration.
- Export designs as print-ready PDFs with embedded fonts, maintaining proper bleed areas and safe zones for commercial printing.
Setting Up Your Canvas Size
Standard Dimensions:
- US/North America: 3.5 x 2 inches (88.9 x 50.8 mm)
- European/UK: 85 x 55 mm (3.346 x 2.165 inches)
- Asian: 90 x 54 mm (3.54 x 2.125 inches)
Essential Setup Steps:
- Open Photoshop and select File > New
- Enter your region's standard dimensions
- Set resolution to 300 DPI for crisp printing
- Add 0.125 inches (3.175mm) bleed on all sides
- Choose CMYK color mode for commercial printing
Pro Tips:
- Create guides at 0.25 inches from each edge for your safe zone
- Use rulers (View > Rulers) to maintain precise alignment
- Save your canvas setup as a template for future projects
Remember to verify specifications with your printer before finalizing your setup, as some may have specific requirements for bleeds or color profiles. This foundation guarantees your design will translate perfectly from screen to print.
Essential Business Card Design Elements
A well-designed business card needs specific key elements to effectively communicate your professional identity. When you're creating your business card in Photoshop, you'll want to include these essential components to make a lasting impression on potential clients and contacts.
Consider these fundamental elements that you'll need to incorporate:
- Your full name and professional title, positioned prominently at 10-12pt font size for ideal readability
- Company name and logo, typically placed in the upper left or center of the card for brand recognition
- Contact information, including your phone number, email, and website, using 8-9pt font size
- Physical address or service area, if relevant to your business operations
- Professional credentials or specialty services that set you apart from competitors
When positioning these elements, you'll want to maintain a balanced layout with adequate white space. You can experiment with hierarchy by adjusting font sizes and weights to emphasize certain information. Remember to keep your design consistent with your brand guidelines, using your company's color scheme and approved typefaces throughout the composition.
Working With Text And Fonts
Text elements bring your business card design to life, and mastering typography in Photoshop will help you create professional, polished results. When working with fonts, you'll need to take into account both technical and aesthetic aspects to guarantee your design remains clear and printable.
Key Typography Guidelines:
- Keep font sizes between 8-12pt for body text and 12-16pt for names
- Maintain a minimum of 300dpi resolution for crisp text output
- Use no more than two font families per design for consistency
- Convert text to outlines before final export to prevent font substitution
Essential Text Tools in Photoshop:
- Character panel: Control tracking, leading, and kerning
- Paragraph panel: Adjust alignment and spacing
- Type on a Path tool: Create curved or circular text
- Layer styles: Add effects like emboss or drop shadows
Remember to check font licensing for commercial use, as many standard fonts aren't cleared for business purposes. You'll want to test your text's legibility by printing a proof at actual size, and always keep at least 1/8 inch margin between text and card edges for safe printing.
Adding Graphics And Logo
Beyond typography, your business card's visual elements help establish brand identity and create lasting impressions. When incorporating graphics and logos in Photoshop, you'll need to maintain proper resolution and placement for professional results. Working at 300 DPI guarantees your images remain crisp and clear when printed.
To effectively add graphics and logos to your business card design, follow these essential practices:
- Import vector logos as Smart Objects to maintain scalability and prevent quality loss during resizing
- Use the alignment tools to precisely position graphics relative to your text elements and card edges
- Create clipping masks to seamlessly integrate images within specific shapes or designated areas
- Apply adjustment layers to assure your graphics match your brand's color scheme perfectly
- Maintain a minimum of 0.125 inches bleed area for any graphics that extend to the card's edge
When placing your logo, consider allowing at least 0.25 inches of clear space around it to preserve visual impact. You can utilize Photoshop's rulers and guides to create consistent margins and spacing. For complex graphics, organizing elements into labeled layer groups will help you manage your design efficiently and make future adjustments easier.
Preparing Files For Print
Proper file preparation stands as the essential final step before sending your business card design to print. To guarantee ideal results, you'll need to configure your Photoshop file according to industry standards and printer specifications.
Key File Preparation Steps:
- Set your color mode to CMYK (not RGB) to prevent unexpected color shifts during printing
- Maintain a resolution of 300 DPI for crystal-clear print quality
- Include a 1/8-inch (0.125") bleed area beyond your trim lines
- Save your final file as a print-ready PDF with embedded fonts
- Keep all important elements at least 0.25 inches from the card's edges
Technical Specifications to Check:
- Document dimensions: Standard US size is 3.5" x 2" (plus bleed)
- Layers: Flatten or organize into clear groups
- Text: Convert all fonts to outlines or embed them
- Image links: Guarantee all graphics are embedded, not linked
Before submission, you'll want to proof your design carefully and run Photoshop's preflight check to catch any potential issues. Create a backup of your working file (.psd) and export your print-ready version following your printer's guidelines for file submission.
Conclusion
Photoshop's versatility makes it an excellent choice for business card design, with over 90% of professional designers using it as their primary tool. You'll find that mastering the basics of canvas setup, typography, and print preparation will help you create polished, professional cards that stand out. Remember to save your files in CMYK color mode and maintain 300 DPI resolution to guarantee your cards look as sharp in print as they do on screen.