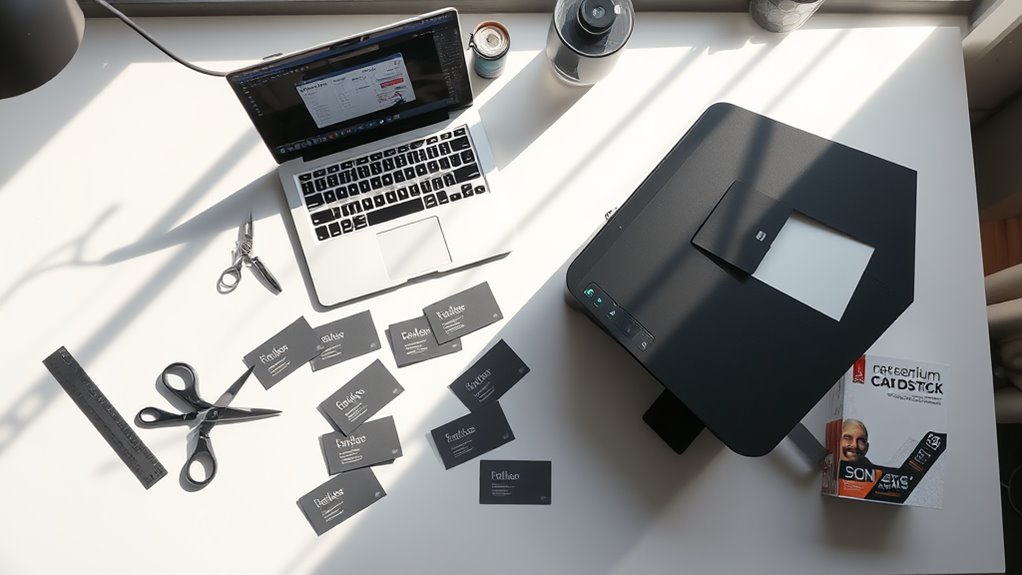
Yes, you can print professional-looking business cards at home with the right setup. You'll need a high-quality printer (inkjet or laser) capable of at least 1200 DPI resolution, proper business card stock paper (minimum 110 lb weight), and design software like Adobe InDesign, Canva, or Microsoft Publisher. For best results, guarantee your printer settings are configured for cardstock, use the manual feed tray, and always do test prints to check alignment. While the initial investment in materials may be higher than expected, you'll gain flexibility and control over your design process. Let's explore the essential tools and techniques to create standout business cards from your home office.
Key Takeaway
- Yes, you can print business cards at home with a quality printer (1200+ DPI), appropriate cardstock paper, and design software.
- Pre-perforated business card stock paper simplifies the cutting process and ensures consistent card dimensions.
- Choose cardstock weighing at least 110 lb for professional durability and premium feel.
- Free design tools like Canva offer user-friendly templates, while professional software provides advanced customization options.
- Always test print on regular paper first and adjust printer settings to "cardstock" or "heavy paper" mode.
Essential Tools and Materials Needed
Four essential items form the foundation of printing professional business cards at home:
- A quality printer (preferably inkjet or color laser)
- Business card stock paper (110 lb. weight minimum)
- Design software
- A paper cutter or scissors
Your Printer Requirements:
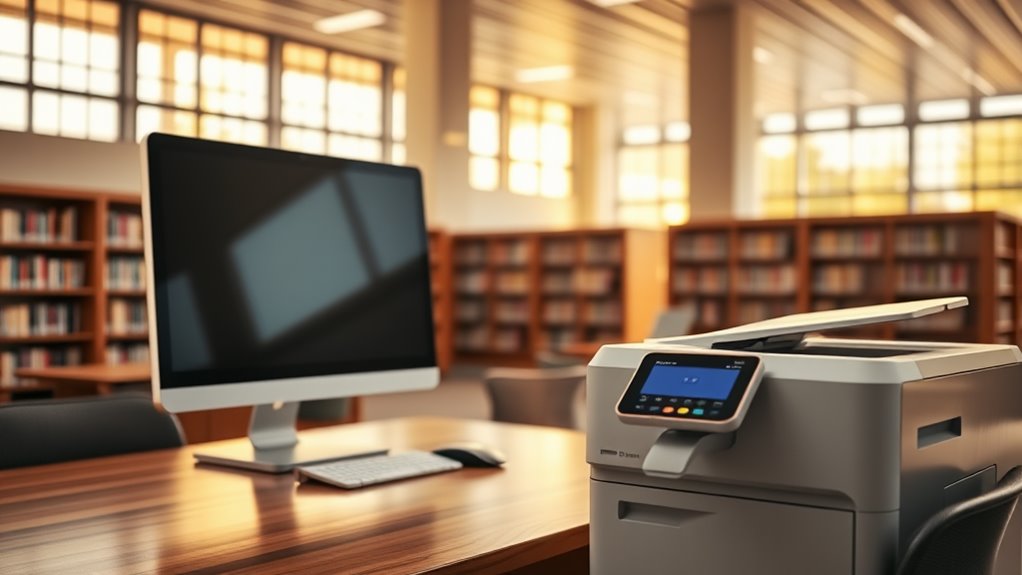
You'll need a printer capable of producing at least 1200 DPI resolution, which guarantees crisp text and vivid colors. While inkjet printers work well for smaller batches, a color laser printer will give you more consistent results for larger quantities.
Paper Selection:
Choose specialized business card stock that's:
- Pre-perforated for easy separation
- Compatible with your printer type
- Coated for professional finish
- Available in white or cream colors
Software Options:
You'll find success with these design tools:
- Adobe InDesign or Illustrator ($20-52/month)
- Canva (free version available)
- Microsoft Publisher ($139.99 one-time purchase)
Cutting Tools:
Invest in a precise cutting solution:
- Guillotine paper cutter ($30-50)
- Professional rotary trimmer ($75-100)
- Sharp scissors as a basic option
Your success will depend on choosing quality materials that match your printer's capabilities.
Choosing the Right Paper Stock
Having covered the basic tools needed, let's focus on selecting the ideal paper stock – arguably the most significant factor in creating professional-looking business cards.
When choosing paper for your business cards, you'll want to take into account both weight and finish. Card stock is measured in points (pt) or pounds (lb), and for business cards, you'll need something substantial. Professional cards typically range from 80 lb to 110 lb cover stock, with 100 lb being the industry standard.
- Weight Options:
- 80 lb: Entry-level thickness, suitable for basic cards
- 100 lb: Professional standard, offers best durability
- 110 lb: Premium feel, best for high-end impressions
The finish you select will impact both printing quality and tactile experience. Matte finishes reduce glare and feel sophisticated, while glossy finishes make colors pop but can be difficult to write on. For best results, think about using specialty cardstock specifically designed for inkjet or laser printers, depending on your equipment.
You'll find that most office supply stores carry business card stock in various weights and finishes, making it convenient to experiment with different options until you find your ideal match.
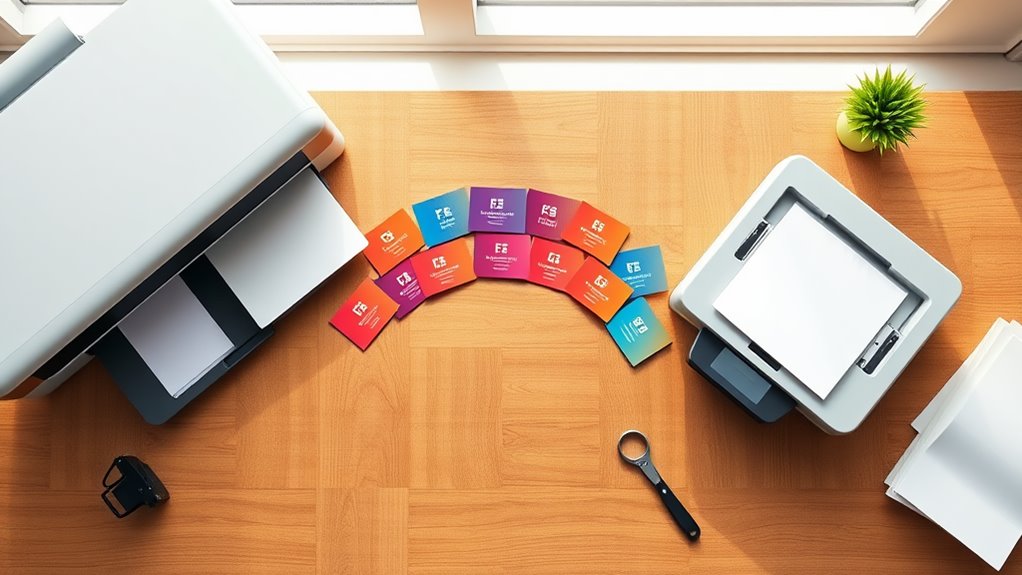
Design Software Options
When it comes to designing your business cards, several software options can help you create professional results. You'll find both paid and free solutions that offer varying levels of functionality and ease of use.
Professional Design Software:
- Adobe InDesign: Industry standard for print design, offering precise control and professional templates
- Adobe Illustrator: Ideal for vector graphics and custom logo creation
- CorelDRAW: Popular alternative with extensive design tools and built-in business card templates
Free and Web-Based Options:
- Canva: User-friendly interface with 8,000+ business card templates and drag-and-drop functionality
- Microsoft Publisher: Basic design tools that integrate well with other Microsoft products
- Avery Design & Print: Specifically designed for printing on Avery business card stock
When choosing your software, consider these factors:
- Learning curve and your design experience
- Integration with existing tools you're using
- Export options (PDF, PNG, or print-ready files)
- Template availability and customization options
- Cost-effectiveness for your specific needs
You'll want to select software that matches your technical expertise while providing the features necessary for your desired card design.
Printer Settings and Setup
After finalizing your business card design, proper printer configuration becomes the key to achieving professional results. You'll need to adjust several critical settings in your printer's properties to guarantee peak output quality and proper card alignment.
To configure your printer effectively:
- Set your paper type to "cardstock" or "heavy paper" (typically 80-110 lb weight), and adjust the print quality to "best" or "photo" for crisp, professional results
- Configure your printer's custom paper size to match your business card dimensions (standard US size is 3.5 x 2 inches), assuring proper scaling
- Run a test print on regular paper first, checking alignment and margins before using your actual cardstock
Most modern inkjet printers offer specialized media handling options through their driver settings. You'll want to enable "borderless printing" if available, and select the highest DPI setting your printer supports – typically 2400×1200 or higher. Remember to check your ink levels before starting a large batch, as business cards require more ink coverage than standard documents. Position your cardstock in the manual feed tray when possible, as this provides the straightest paper path.
Common Mistakes to Avoid

Throughout the process of printing business cards at home, several pitfalls can derail your project and waste valuable materials. Understanding these common mistakes will help you avoid frustration and achieve professional results.
Key Errors to Avoid:
- Using regular copy paper instead of cardstock (which leads to flimsy, unprofessional cards)
- Failing to calibrate your printer's color settings, resulting in inconsistent output
- Misaligning text or graphics due to incorrect template measurements
- Overcrowding the design with too much information or visual elements
Critical Technical Mistakes:
- Printing without checking ink levels, which can lead to streaky or faded cards
- Neglecting to adjust paper weight settings in your printer properties
- Failing to let ink dry completely before handling (wait at least 10 minutes)
- Using low-resolution images that appear pixelated when printed
Quality Control Issues:
- Not performing test prints on regular paper first
- Skipping the proofing process for spelling and contact information
- Cutting cards imprecisely or with dull blades
- Storing finished cards improperly, leading to bent corners or moisture damage
Professional Design Tips
Now that you've learned what not to do, let's focus on creating business cards that capture attention and reflect professionalism. Your design choices will make the difference between a card that lands in a drawer and one that generates valuable connections.
To create a polished, professional look, follow these essential design principles:
- Maintain consistent spacing by using a grid layout, keeping at least 0.5 inches of margin around all edges, and aligning text elements with precision. This creates visual harmony that draws the eye naturally across your card.
- Choose two complementary fonts – one for your name (typically 10-12 point size) and another for contact information (8-10 point size). You'll want to stick to professional options like Arial, Helvetica, or Garamond.
- Incorporate your brand colors strategically, using the 60-30-10 rule: 60% primary color, 30% secondary color, and 10% accent color. This creates visual interest without overwhelming the design.
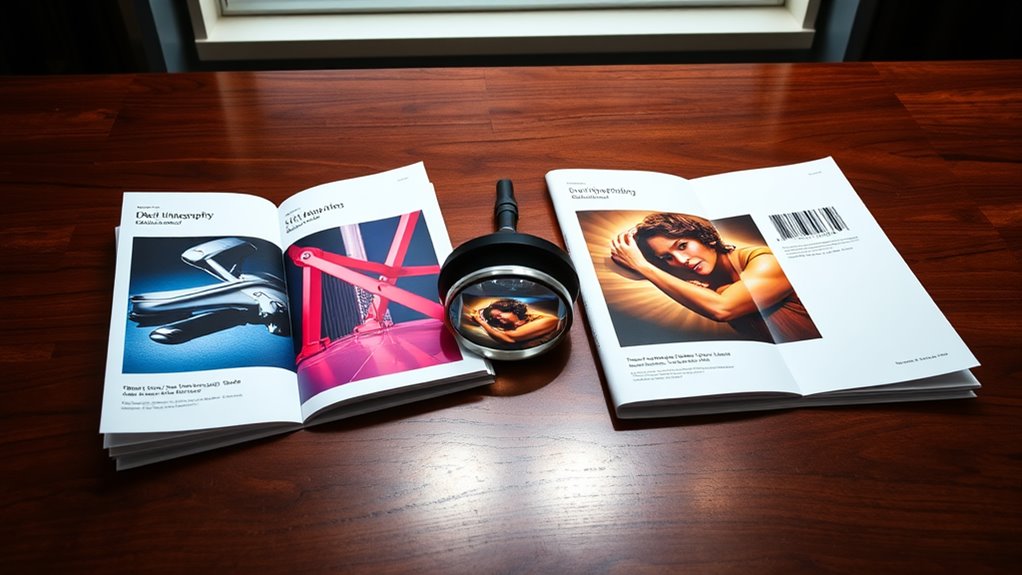
When selecting images or logos, verify they're at least 300 DPI to prevent pixelation. You'll also want to test your design by printing a few samples before committing to a full batch.
Conclusion
You can successfully print professional business cards at home with the right tools, paper, and attention to detail. According to a recent survey by Vistaprint, 72% of small business owners consider business cards essential for networking, even in our digital age. Whether you're launching a startup or growing your personal brand, creating your own business cards offers a cost-effective, customizable solution that puts you in control of your professional image.